Lightroom - Smart Previews

Adobe Lightroom 5 Smart Previews

Lightroom Smart Previews – Love at First Sight

Lightroom Smart Previews are a killer *new* way to upload your images to us! They cut your upload time by about 90% and much easier to work with than XMP files! Follow the instructions below to upload them to us:

What Are Smart Previews?

Smart Previews are compressed RAW files that are 5%-10% of the original filesize. Does this mean they effect the quality of the editing? Nope!! When we send you back the Lightroom Catalog with our edits, it uses the uncompressed RAW images on your end. There is NO quality loss!

Smart Previews Workflow

  • Create a new catalog. I would suggest the Order Number as a name.
  • Import only the images you are sending us into the catalog.
  • Select all of the images, and click Library>Previews>Build Smart Previews
  • Browse to where the Lightroom Catalog is. Zip up both the ‘lrcat’ and the ‘Smart Previews.lrdata’ (NOT the Previews.lrdata) files.
  • Upload the zip file to us.

Receiving back an edited Lightroom Catalog

This part is soooo simple! Just open up the Lightroom Catalog we sent back! It will automatically link up to the RAW files on your computer, no other work necessary! :D


Tags:

Tutorials

XMPs - Lightroom

XMPs in Adobe Lightroom

XMPs – Adobe Lightroom

In our previous blog post about using XMPs with Bridge & Adobe Camera RAW we talked about why we love them and what they are.

Using XMP files with Adobe Lightroom

  • Download the XMP zip file.
  • Unzip it to the same folder as your RAW files.
  • Open Lightroom and select all images.
  • Right Click/Option Click and choose ‘Metadata’ – ‘Read Metadata From Files’.
  • Choose the ‘Read’ option from the popup.

You’ll start seeing the previews update with the edits from us . It’s as simple as that!


XMPs - Bridge & Adobe Camera RAW

XMPs in Adobe Bridge and Adobe Camera RAW

XMPs Are Fantastic!

If you’re an Adobe Bridge user and shoot in RAW format, it’s a necessity to know how to use XMP files. XMP files are our normal delivery method for RAW files for a couple advantages:

  • They are super small.
  • They show all edits we made to your RAW files.
  • They are easy to use :)

What are XMP files?

XMP files are just small text files with the extension ‘.xmp’ that contain the edits we make. They hold the edits for exposure, contrast, brightness, blacks… everything. These updates are viewable in both Bridge and Lightroom. The filename of the XMP MUST match the filename of the RAW file, it’s how the two files synchronize.
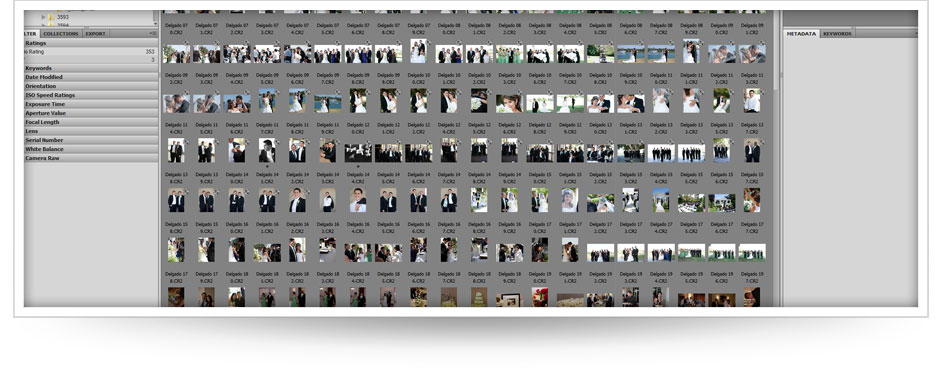
How to use XMP files with Adobe Bridge

  • Download the XMP zip file.
  • Unzip it to the same folder as your RAW files.
  • Open Bridge and browse to the same folder as the RAW & XMP files.
  • Select all images, you will not see the XMP files in Bridge.
  • Right Click/Option Click and choose ‘Generate High Quality Thumbnail’ or ‘Purge Cache for Selection’

Sit back and watch the magic happen, you’ll start seeing the changes flash before your eyes. It’s as simple as that!