It’s important for us, and we think you should know too!
This is what we do best, we’re setup to provide the BEST color correction for your images! We want to share and give you some tips to setup your environment. Have questions? Get in touch with us, We’d LOVE to talk!!
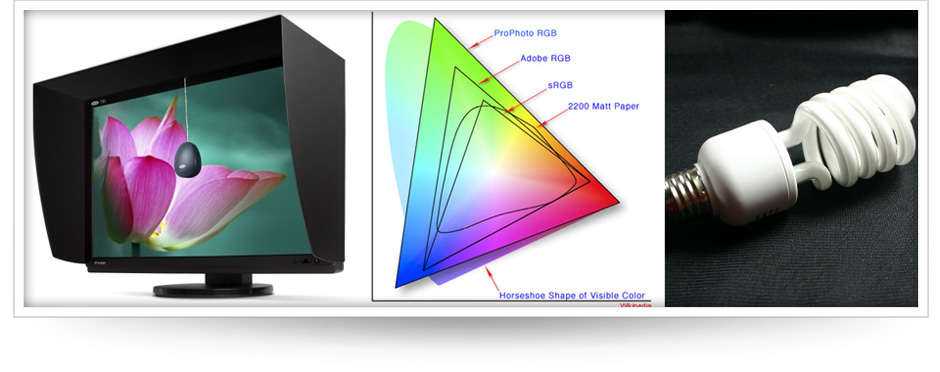
Monitors
Can’t I just pick the cheapest?
Nooooooo! There may be way more choices of monitors than one needs, but there is a specific market aimed at professionals. These panels are called IPS Monitors (In Plane Switching). These panels are not the cheapest but offer the best image quality, color accuracy and viewing angles. In a later post I will touch on individual monitors themselves.
Even Backlight
This is the biggest advantage of IPS Monitors. They provide an even backlight with a great viewing angle. On a normal monitor, if you were to move an image from the left side of the monitor to the right, you’ll notice that the image will shift in brightness. How can you color correct when the brightness is shifting? You Can’t!
Calibration
There are a few calibration devices out there, mainly Spyder and XRite. We tend to recommend the XRite Eye One Display 2 system. Both calibration systems are aiming for the exact same thing, whites are whites, blacks are blacks and grays are grays. Either one will take you there, so choose whichever one your comfortable with.
Luminance
Also known as brightness, luminance is one of the most important settings when calibrating, your prints may come out dark or bright depending on how far off your luminance is. When calibrating, your target luminance should be 120 cdm/2.
White Point
Adjusting the white point of your monitor will shift the color temperature warmer or cooler. The white point of your monitor should be set to 6500K, Daylight.
Gamma
Windows and Apple both used a different gamma setting until recent. Your gamma should be set to 2.2 when calibrating.
Color Space
Adobe RGB(1998) or sRGB?
Adobe RGB is a larger color space than sRGB. This means that a wider gamut of colors is captured when working in Adobe RGB. Always a good thing :)
Set Adobe RGB In-Camera
In order to take advantage of this larger color space. You need to set it up in your camera, please refer to your manual for details.
Working Space
Lighting
Your ambient lighting needs to be controlled. You can’t have light pouring in through a window to your right and have overhead halogen lighting blaring on to your monitor. You just need enough light to not cause eye-strain and make sure the lighting is not directly hitting your monitor.
Bulbs
Each type of light/bulb has a different color temperature, some warm, some cool. What your looking for are Daylight bulbs rated at 6500K, be careful, just because they say daylight on the box, does not mean they are rated at 6500k. You’ll notice that the target color temperature for your monitor calibration is also 6500K.
Room
You’ll want to be working in a room with neutral gray or white paint. If you were to work in a room with bright pink walls you could end up having a pink cast being shown on your monitor causing your printed images to turn out the same.
RAW or JPG?
This can be a very controversial subject, but we have to touch on this.
Shoot RAW!
RAW format is an uncompressed format, meaning, information is not lost when you take the image. JPG format is compressed and looses quality and information, even if shot in Large Format mode.
- If your white balance is not set when shooting RAW, no big deal, we can change it afterward. When white balance is not set when shooting JPG, it leads to tinting of the images which can lead to some serious oompa loompa looking skin tones!